Setting Up Your Site
Getting your Site
The IRIS Center can make a WordPress instance for you; contact us at iriscenter@siue.edu. The new site will have the domain name iris.siue.edu. In the email tell us what you’d like the subdirectory to be (for example, iris.siue.edu/yalit). Additionally, tell us what to title the site.
To access your dashboard, add /wp-admin to the end of your URL. (So if your website is https://iris.siue.edu/example, you can log in at https://iris.siue.edu/example/wp-admin.) Log in using your e-ID and password.
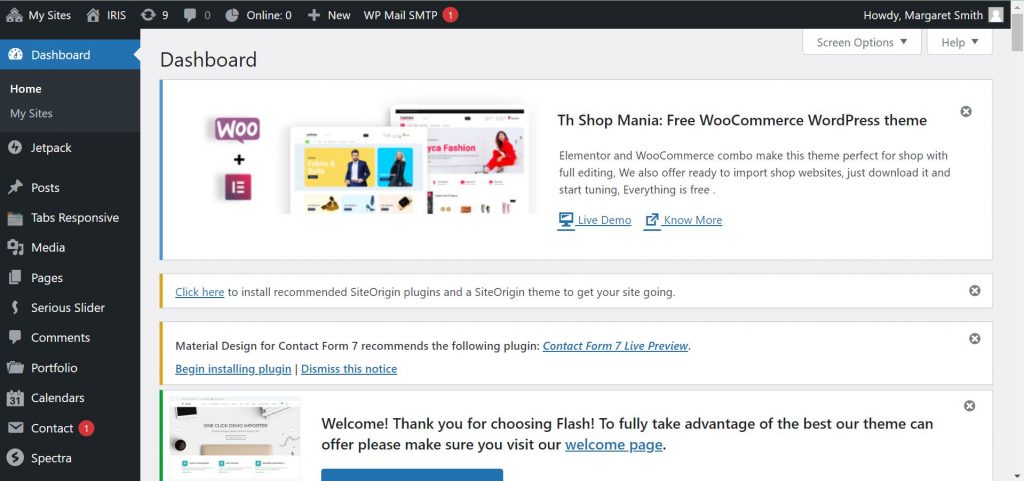
Getting to Know Your Dashboard
Your dashboard is where you can create posts and pages, change your site’s appearance, and add or remove users. Most of what you need on your dashboard will be in the left-hand menu.
Choosing a Theme
You can find your themes under the Appearance tab in your dashboard. We have lots of themes installed on the IRIS WordPress space already, and chances are good that one of them will suit your needs. We recommend keeping it simple and uncluttered. Your theme choice will depend on what you’re using the site for. Here are a few of our go-to themes for different use cases:
- Blog: For a class blog, two-columns themes work well, because the second column allows for extra widgets on the left with author info, calendars of posts, etc. Hemingway is one of our go-to themes for class websites because it’s clean and readable.
- ePortfolio: We use Hemingway, TimelessMinimal, and Ashe for ePortfolio templates. They’ve all got similar layouts and navigation, and having multiple options gives students the opportunity to tailor the site appearance to suit their aesthetic.
- Wiki: MyKnowledgeBase is a dedicated theme for building wikis, knowledge bases, or FAQs using WordPress’s built-in posts and pages.
Selecting Plugins (Plugins below are already available on the IRIS domain)
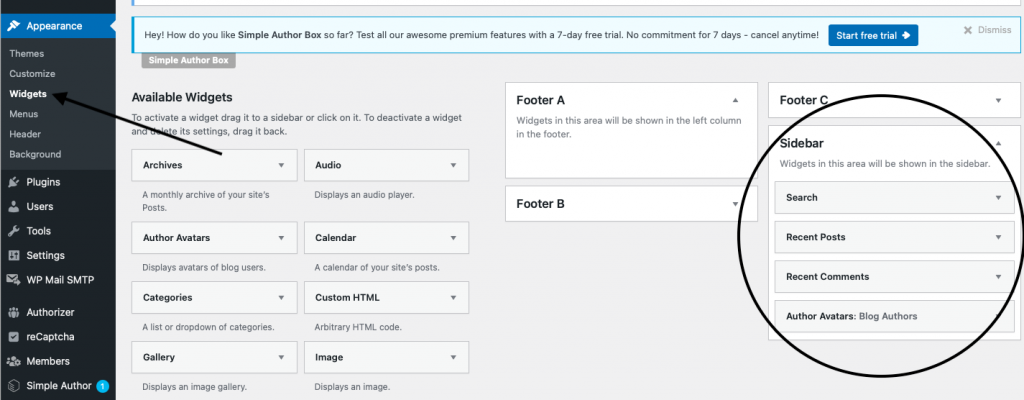
Author Avatars: An author widget makes grading and commenting easier because the instructor can see if students have completed their posts on time and access their work by student rather than scrolling through posts by date. The Young Adult Literature site used the plugin Authors Avatars List/Block. With the plugin installed, a site administrator will visit appearance/widgets to add The Authors Avatars widget to the right column. This site also has Simple Authors Box installed, which provides extra author info at the top of each post.
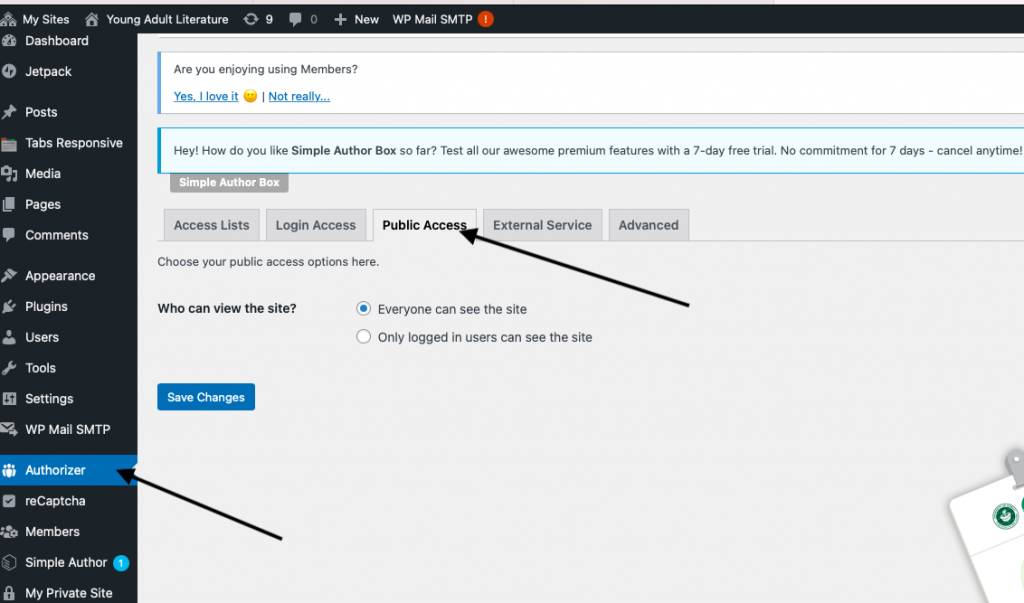
Authorizer:The site also has the “Authorizer” plugin installed to make the site only visible to students in the class. SIUE has a social media policy that includes WordPress; in an asynchronous class, it can be hard to get the consent forms signed and returned. When the site is private, students do not need to sign the consent form. If you are interested in having students reach an audience with their work, under the guidelines of the policy, you can give students the options to choose an anonymous avatar and site alias.
Recaptcha: This plugin cuts down on spam commenting.
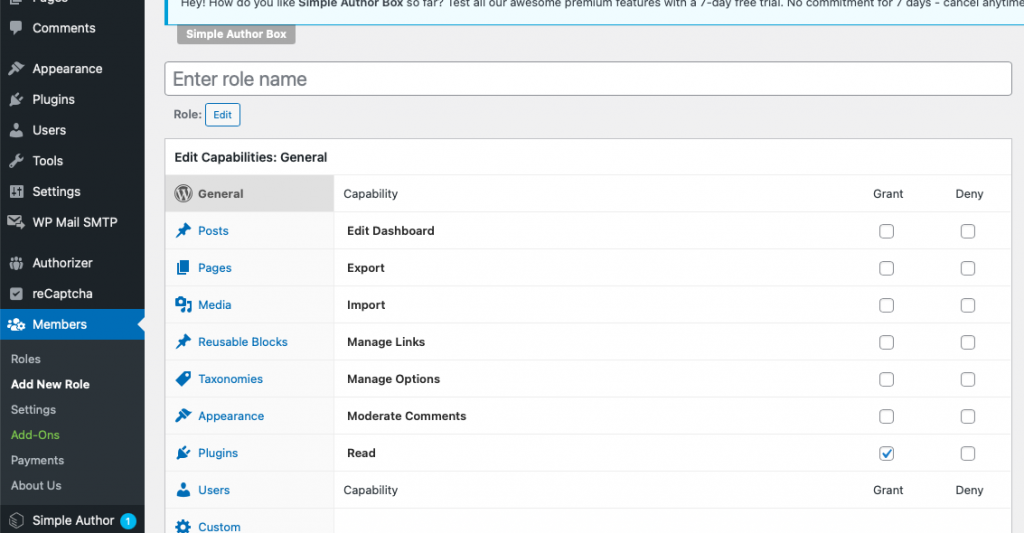
Members: Members is a useful plugin because it allows site administrators to make user roles beyond those automatically assignable in WordPress. For this site, I made one called student blogger. The “editor” role gives students privileges to edit one another’s blogs and the contributor role doesn’t allow for the editing of comments in the dashboard. Once an administrator defines a new role through members, go into Users/Add New and add the email address for each student, being sure to select their role in the dropdown box each time.
Student Logins
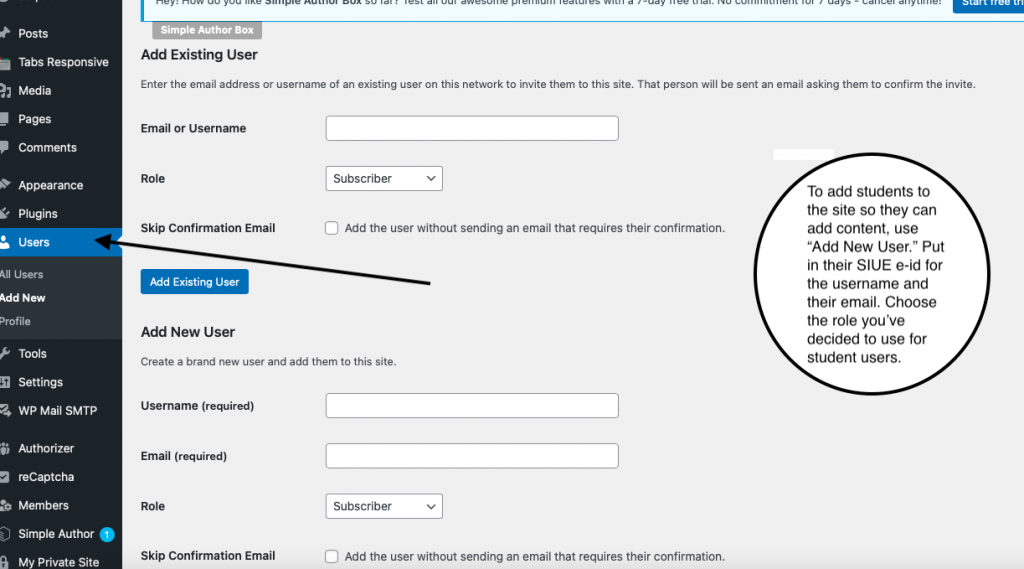
WordPress accounts through IRIS are set up so students can automatically logon with their e-id and password once they’ve been added to the site. Go to Users/ Add New/ Add New User to input students SIUE e-ids and emails. If a student has been added to an IRIS WordPress site, you’ll need to add them as an existing user. Just start typing their e-ID, and their information should pop up.
In both cases: Make sure you check the box to “Skip Confirmation Email.” This allows them to log in with their e-ID and their SIUE password.
Choosing user roles: The user roles determine what kinds of changes the student can make on the website.
- Subscribers: can only read content that is publicly available.
- Viewers: can view and comment on private sites.
- Contributors: can draft content, but can’t publish it.
- Authors: can write and publish their own content.
- Editors: can edit others’ content.
- Administrators: can change any settings on the site, including its general appearance, users, and privacy settings.
Navigation
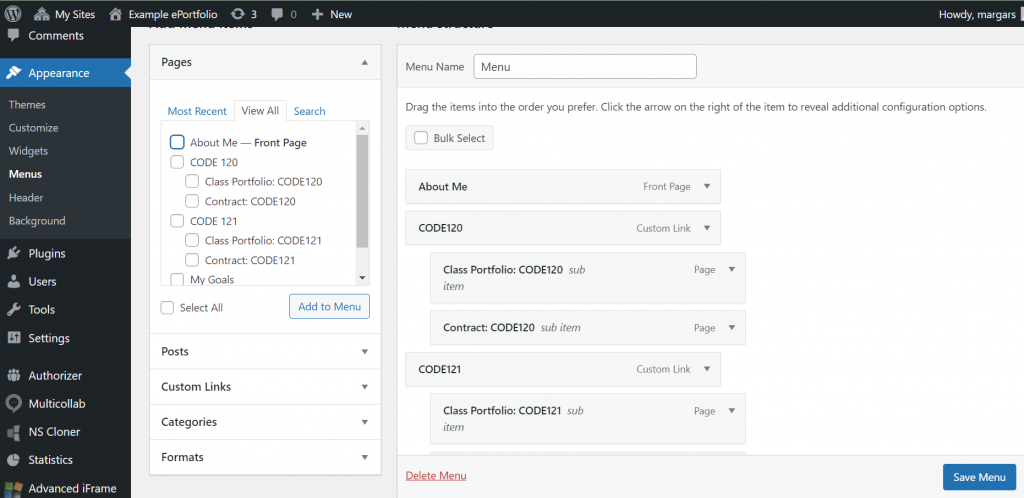
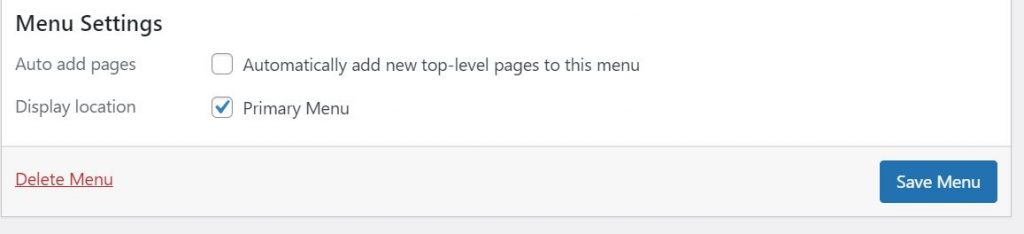
Navigation: You can add pages to your navigation through the Menus option under the Appearance tab. To add pages, just check the appropriate boxes and click “Add to Menu.” Once pages are in the menu, you can drag them up and down to reorder them, and drag them to the right to nest them under other pages. When you’re done editing, make sure the “Display location: Primary” box is checked and click “Save Menu.”
Setting Your Homepage (and Other Customizations)
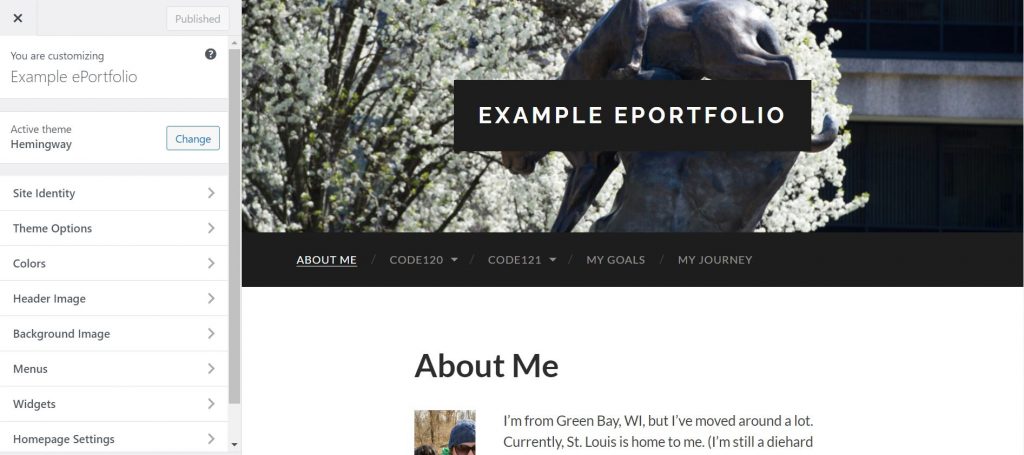
In the Customize panel, which you can access via the Appearance tab, you’ll find a variety of options for tailoring your site’s design. Each theme offers different options for customization, but this will frequently include colors, fonts, and layout options.
The Customize panel is also where you can set your site’s home page (under Homepage Settings). By default, your site’s home page is your posts page, which displays blog posts in chronological order. You can choose to change this to a static page and assign another page to show your posts.